Preparations:
- download Free Kingo Android Root and install it on your computer.
- Make sure your device is powered ON.
- At least 50% battery level
- USB Cable (the original one recommended)
- Enable USB Debugging on your device.
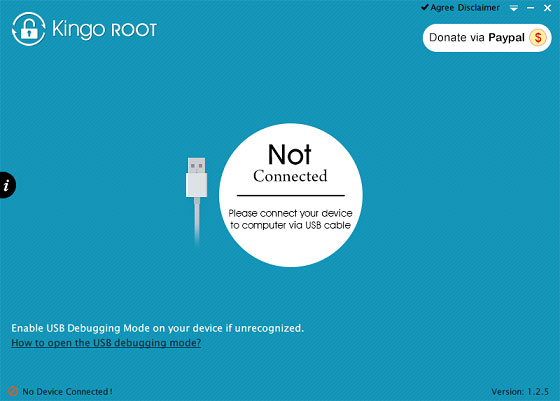
Step 1: Find the desktop icon of Android ROOT and double-click to launch it.

Step 2: Connect your GALAXY S3 to your computer via USB cable.
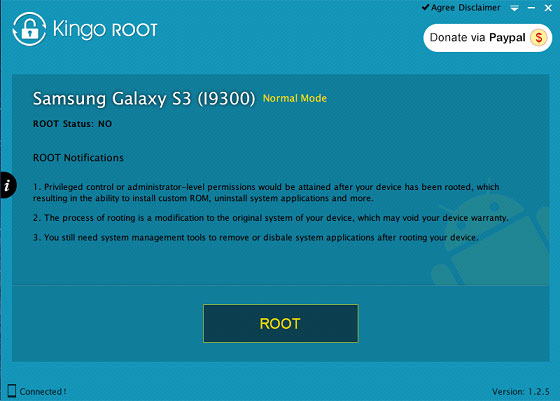
If it is the first time to connect, you may have to install device driver software. It should be done automatically. After successfully installing device driver software and enabling USB Debugging mode, your device should be well connected. And the interface will be shown as below.
NOTE: Reading the notifications carefully before jumping into the ROOT process. And if you are still not sure, click here for further information.
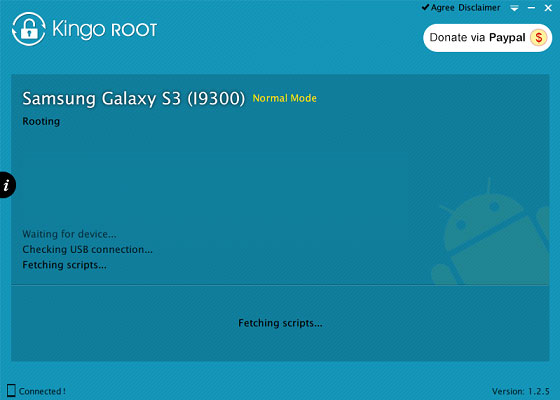
Step 3: Click ROOT to start the process when you are ready.

NOTE: It will normally take 3 to 5 minutes to complete. Once you started, do not move, touch, unplug USB cable, or perform any operation on your device anyhow!
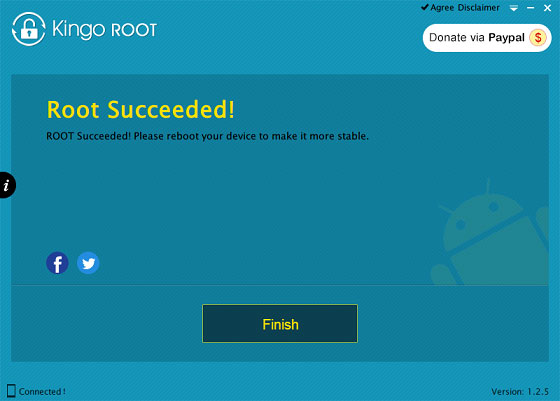
Step 4: ROOT Succeeded! Click Finish to reboot your device.
Your device is now successfully rooted. And you need to click Finish to reboot it in order to make it more stable. Still, do not touch, move or unplug it until it reboots. Check your device and find out SuperSU icon, which is the mark of a successful ROOT.
One thing about Kingo ROOT that worth your attention is that there is the REMOVE ROOT function built in, which means you may use it to remove ROOT from your GALAXY S3 with just one-click as well, clean and simple.
NOTE If your device is not supported by Kingo or it fails to root, here are some tips for you.
- Go Troubleshoot sector.
- Save the log file.
Join Nairabet

No comments:
Post a Comment
Drop your own cheat here or comments